Setup free business email address
The title is a bit clickbait-y. This will be just a half-functioning email. Meaning you will have an address that can be shared with others and used to receive incoming emails but for messaging and/or responding you will have to rely on whatever free personal account you have.
Also, this is a guide for Croatian-registered business owners. Other countries may have different rules.
¶ Step 1: Get your .hr domain
Every legal entity in Croatia can claim a free domain with .hr TLD. That can be done on domene.hr website. The name of my company is LONA d.o.o so I claimed lona.hr domain which was thankfully free. It’s not uncommon for same or similar-named businesses to exist. And only allowed domain names are either full business entity name, short name or acronym derived from the full name. If all of those are taken then you will have to cash out for some other vanity name.
Once registered, domain settings can be accessed here.
¶ Step 2: Cloudflare account
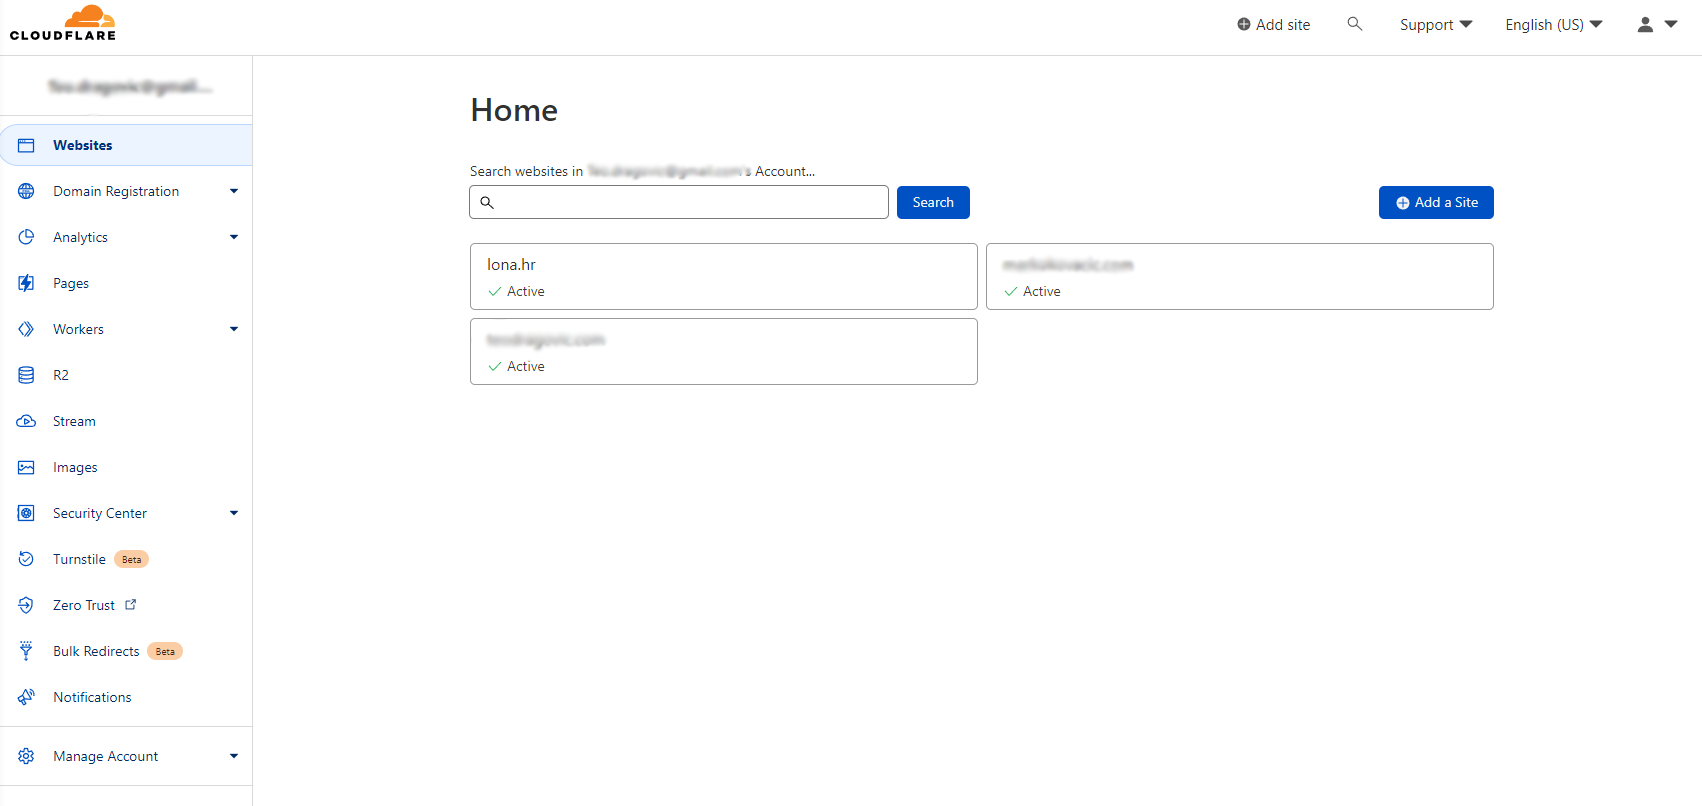
The next step is to make a free Cloudflare account. I use them forever as my CDN provider so I already had an account. I still needed to add a new website I would run through them. Ignore the fact that no actual website exists yet.
Click Add site button in the main header of Cloudflare dashboard and enter a domain name (in my case lona.hr).
¶ Step 3: Copy DNS records
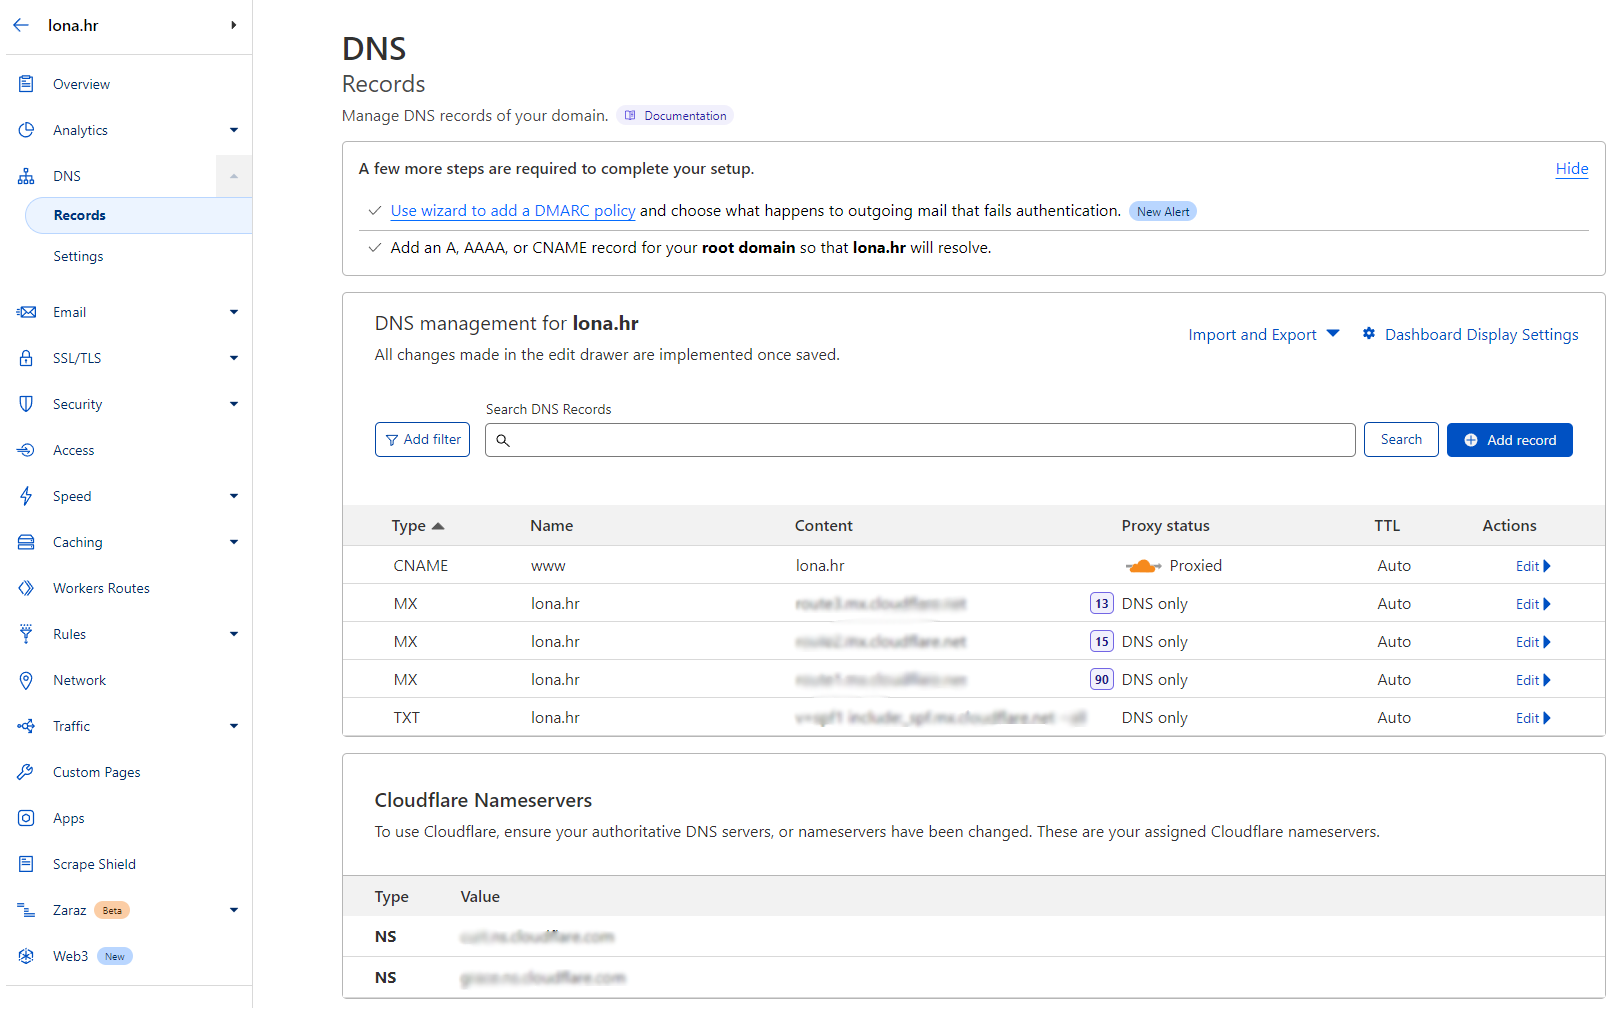
Clicking on a site in Cloudflare dashboard should open a view with some charts. Somewhere on it should be a link to DNS settings or you can click on DNS section in the main menu. On next page, you should see listed Cloudflare nameservers. They usually have names like something.ns.cloudflare.com.
Names of those servers should be copied back into domain registrar from Step 1. Adding DNS records is pretty much the only thing that can be done so input fields shouldn’t be hard to find.
¶ Step 4: Copy MX records
Go to Email > Email Routing > Settings. You will find DNS records for email routing here. Those are entried with MX and TXT record types. Those records should be copied into DNS > Records > DNS management inside Cloudflare. Use Add record button, set the correct type, put the domain name as name and copy the value from Email settings.
¶ Step 5: Set up email forwarding
Once records are added, you can go back to Email > Email Routing > Routes tab and set up email forwarding. First, add and verify one or more destination addresses. This is an address/email service that will receive all emails directed to your business address. You can have multiple destinations for multiple business emails.
The last step is to match source address to a destination. I direct multiple lona.hr emails to my personal Gmail and filter them inside my inbox.
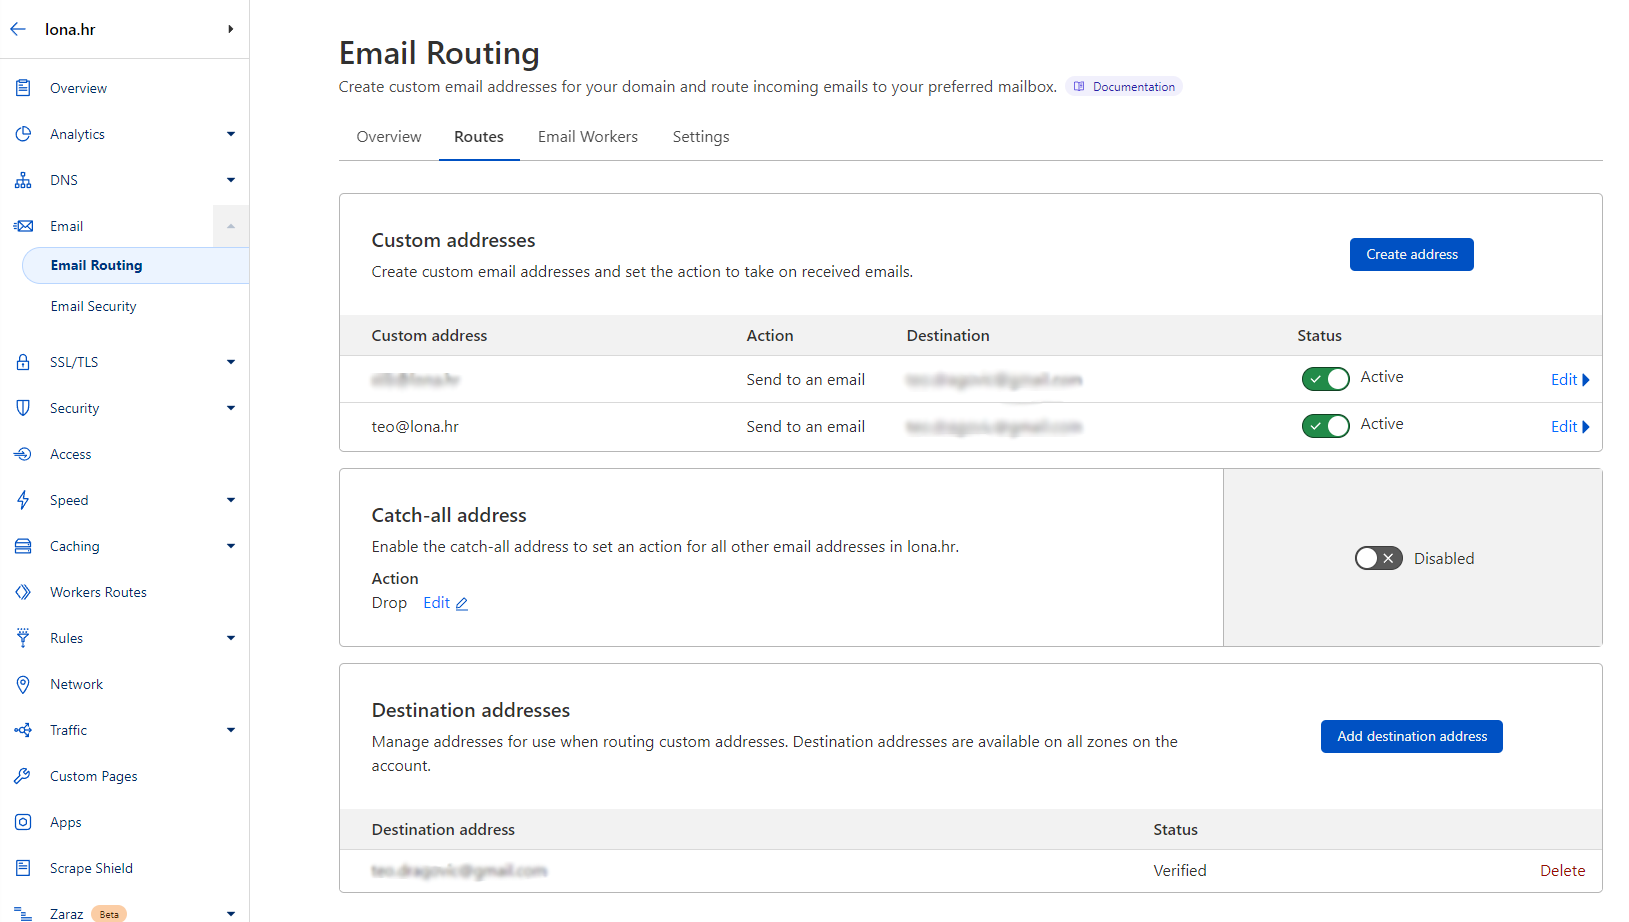
Cloudflare also provides a catch-all option. This means you don’t even have to set any specific email and everything directed at my-domain.com will land in your inbox. But I think that would also increase the amount of spam or phishing attempts.
¶ ImprovMX
A quick note: there is a service called ImprovMX. Their core business is email forwarding and can be used instead of Cloudflare in steps 4 and 5. There are several similar services but I used ImprovMX for one other site I manage and they seem to be faster but that’s my subjective and anecdotal impression. For my business needs, where I don’t get a lot of emails, I opted for the convenience of having everything on the same service.